3D-Printing

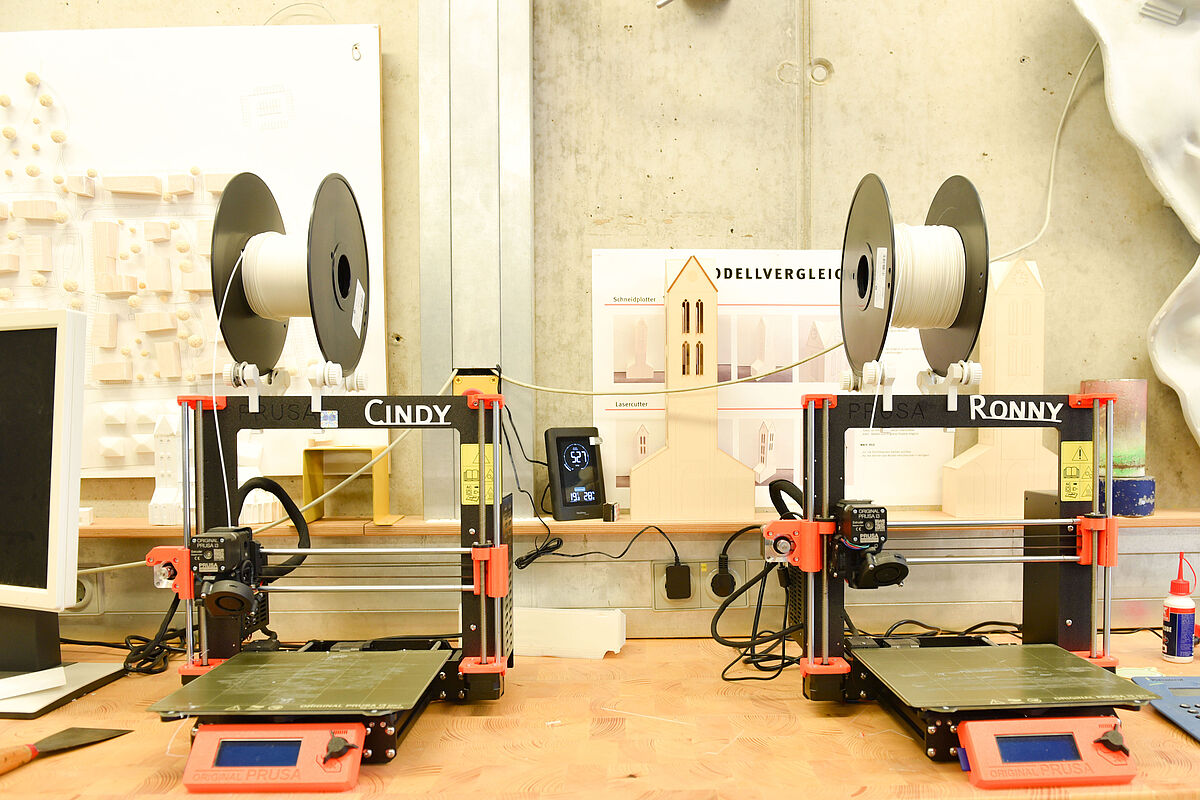
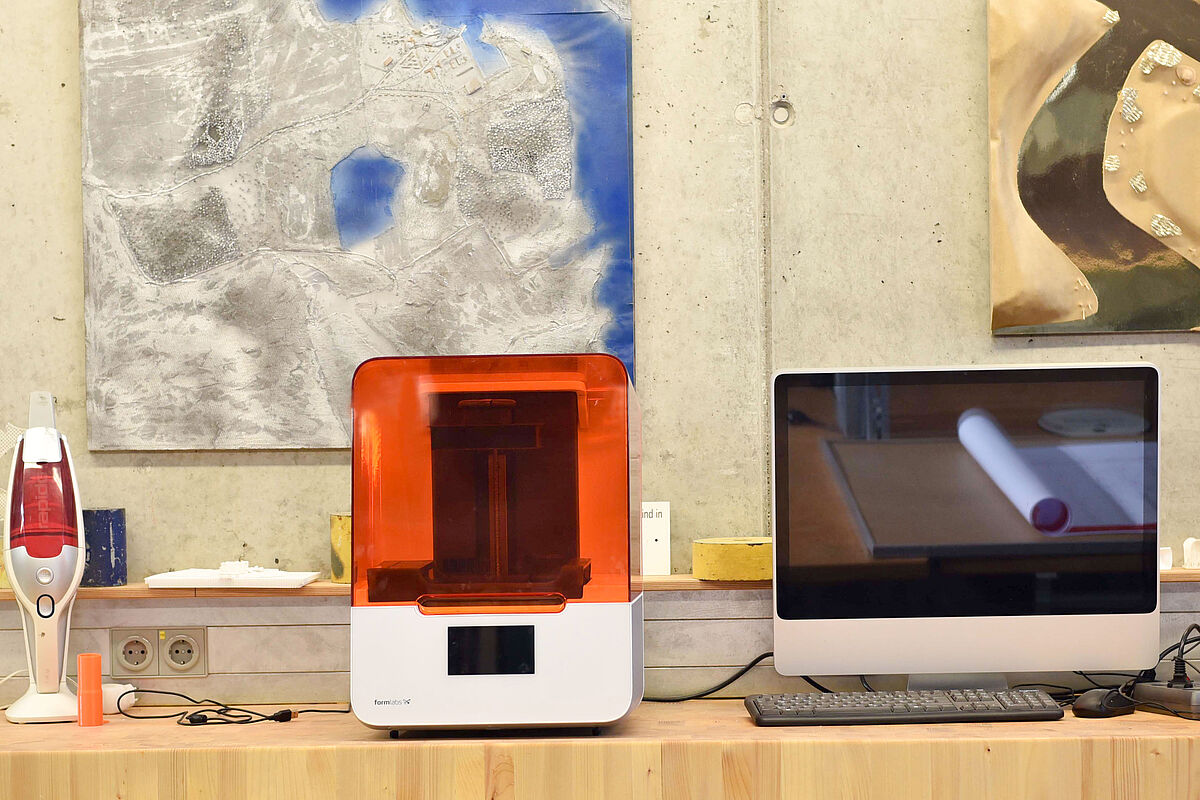
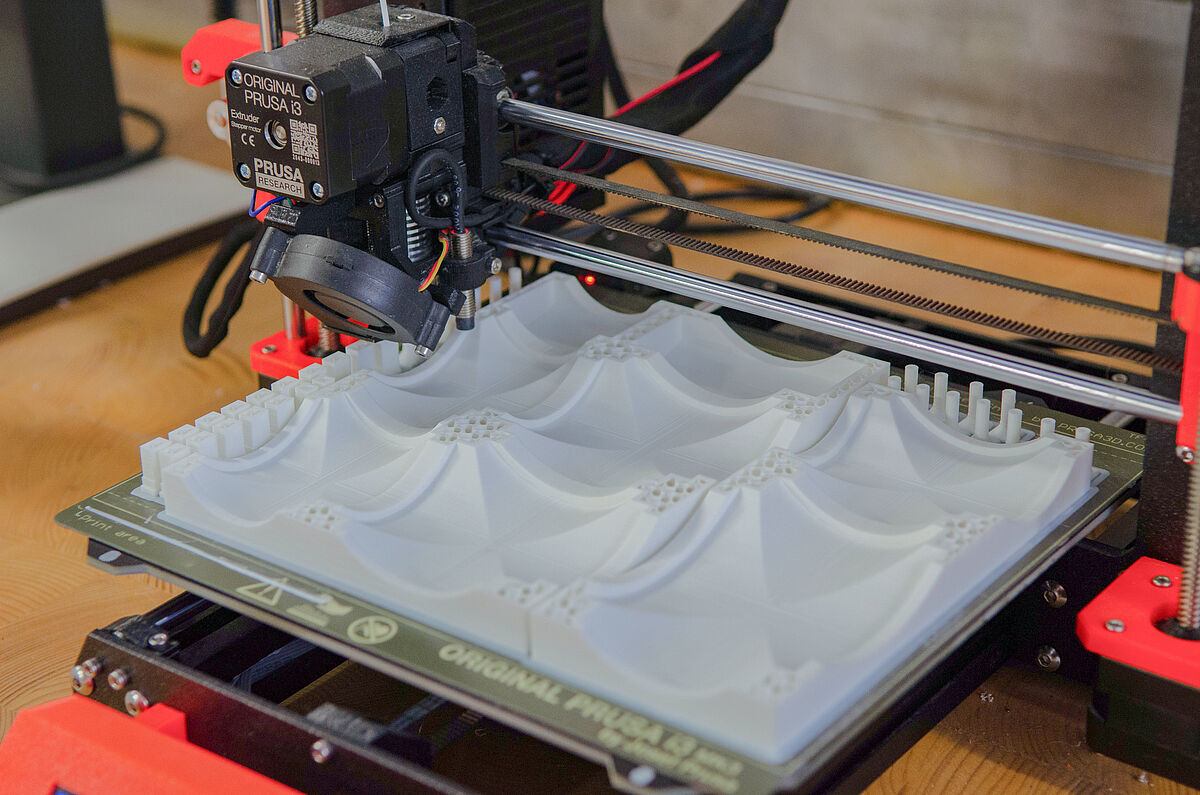
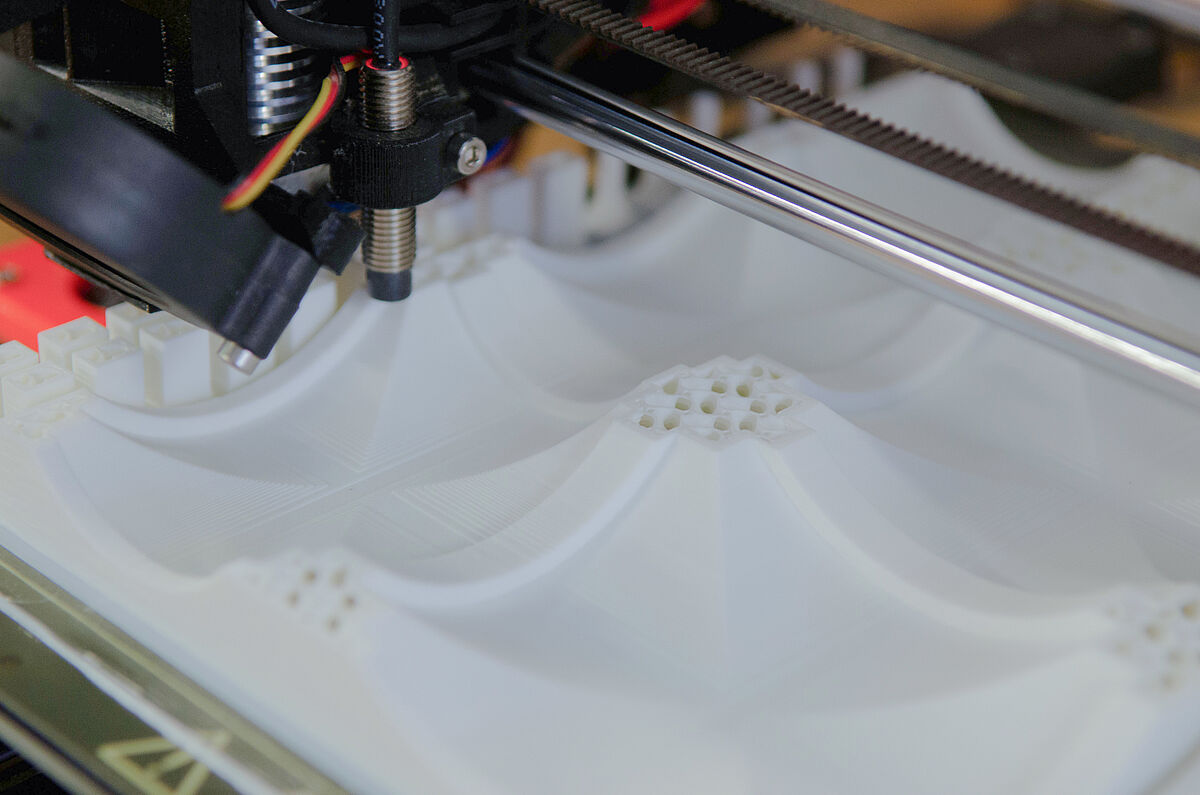
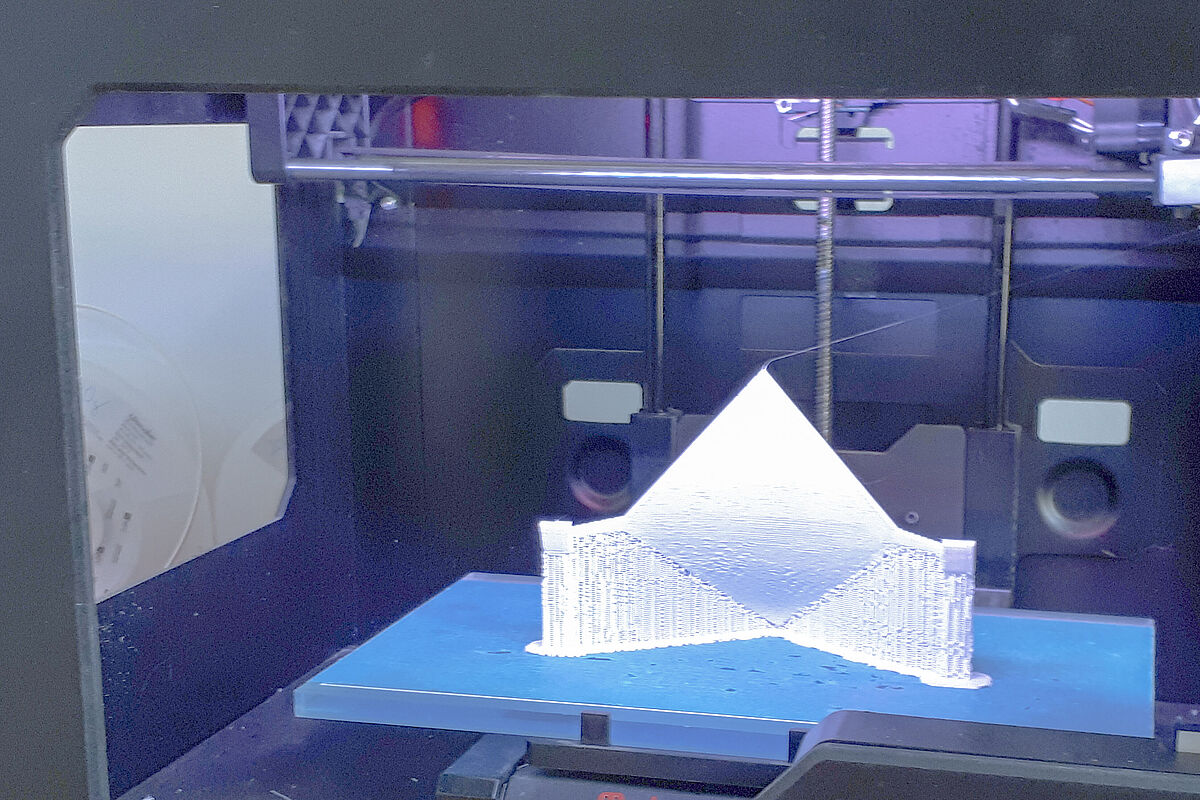
At the Faculty of Architecture and Design we have various different types of 3D printing devices available: Makerbot Replikator 2, Pursa i3 MK3, Ultimaker 3 Extended and Stereolithography Printer Form 3.

Filament printer, Pursa i3 MK3
Two Pursa i3 MK3 filament printers are ready. Affectionately called "Cindy" and "Ronny" by the workshop managers, they have a build volume of 25×21×21 cm.
Please find the software here prusa3d.com/de/page/prusaslicer_424

Makerbot Replicator 2 – Instructions

The Makerbot prints with PLA-Filament Polymax in white colour.

The available space for printing is 150 x280 mm and 150mm in height. You can easily install the Makerbot-Software on your computer and and so gain acces to the adjustments of the replikator 2.

Step by Step:

  • Open the virtual installation space of the STL- file
  • Let the file get calculated by “ Print Review”
  • Duration of the process and requiered material will be shown


Ultimaker 3 Extended – Instructions
The procedure is similar to the Makerbot. The device can print in several materials i.a. water soluble support material. The maximal printing space is 200x 200 mm and 300mm in height. You can find the software here:
ultimaker.com/en/products/ultimaker-cura-software

Form 3 and Form 3B+ – Handling, instructions
The Form 3 is a stereolithography printer that can print different resin-based materials. We are currently using the standard white resin. The maximum build space is 145×145 mm in base area and 180 mm in height.

The Form 3B+ is also a stereolithography printer and was developed specifically for medical experts and medical device engineers. Biocompatible materials are used here.

The preform software can be installed on your own computer:
formlabs.com/de/software In this program, you can make the settings for printing yourself. This also enables models to be calculated in advance.

Step by step instructions:

  • open the preform
  • open STL file
  • set alignment
  • Generate support structure (no printing without support structure)
  • Read the print time and print volume

Book your appointment over Stud.IP »

Model making workshops, directly to the event, resources, choose a workplace and register

How to get ready?

Datacheck: We suggest that you arrange a personal appointment for an introductional briefing of your project. You will receive direct feedback for optimization and adjustment of your files. In so doing the whole project phase can be streamlined by avoiding later complications. The datacheck is the base of all following steps.

CAD-Files: It´s up to you which program to use ofr the 3D- Drawing. The correct STL-files need to be send at 3d-drucker-fg@hs-wismar.de or at form3-fg@hs-wismar.de. Removable drive units or downloads are not permitted.

Materialcost: At the moment the cost amount to 9 ct per gram for students. The sale is done through our materialsystem
material.fg.hs-wismar.de/secure

Contact

FG 3D-Drucker
Building 7c · Room 3.106
3d-drucker-fg@hs-wismar.de